Overview
This reference guide describes how to format your Microsoft Word documents to be as accessible as possible. It builds upon the accessibility principles explained in the Accessible Document Overview guide; those principles apply to all documents, including Microsoft Word files, so make sure you are familiar with those guidelines before proceeding here. This resources focuses on how to implement the principles in Word.
Word files are generally an accessible format (except for forms, explained below), but are typically not the end format for publicly shared documents. The greatest utility of Word is it's ease of editing, compared to PDFs. If you are creating a document in Word that will eventually be exported to a PDF, do as much accessibility work as possible in the Word format. Any accessibility-related meta data will get exported to the PDF.
Except where noted, this reference uses the Office 365 (browser-based) version of Microsoft Word. Desktop versions may vary slightly on both Windows and Mac.
Guidelines
Use Headings
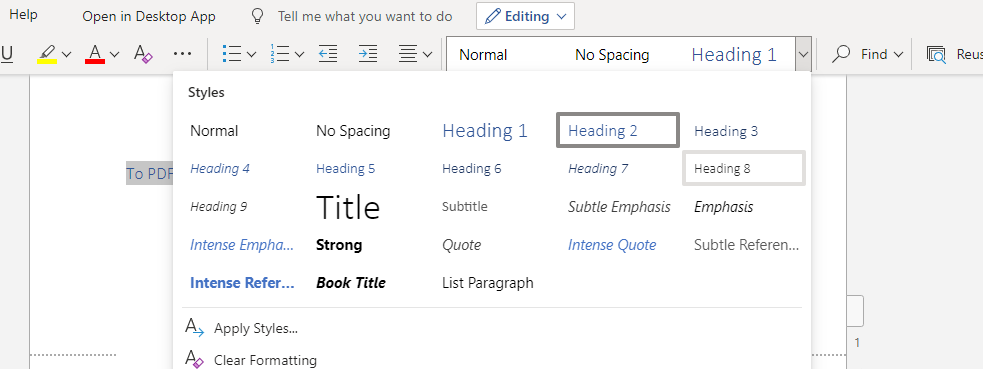
Use Headings to give structure to the document. Rather than rely on visual cues like bolding, underlining, or increasing the font size of the text to indicate new sections of your document, select the Styles dropdown to assign a Heading to the text you use to designate a new section.
When reviewing a document, sighted visitors don’t typically read the entire document. Instead, they scan the section headers to find the area of interest, then read only that section. Similarly, people who use screen readers want to read all the section headers first, so they can skip to that section and avoid having to listen to the entire document to retrieve their desired information.
Using Headings, versus restyling the font of Normal text, helps provide this document structure for screen readers to parse.
Nest Headings in order. The main idea(s) on the page should be Heading 1. Subsections under Heading 1 should be Heading 2, and subsections of Heading 2 should be Heading 3, etc. Don’t skip Heading styles. If you don’t like the default style of Heading 2, don’t jump from Heading 1 to Heading 3. Instead, use Heading 2 and then restyle it like you would with any other font.
Note that you may skip sections when jumping back up the document structure, e.g. H4 -> H1.
Embed Links Within Text
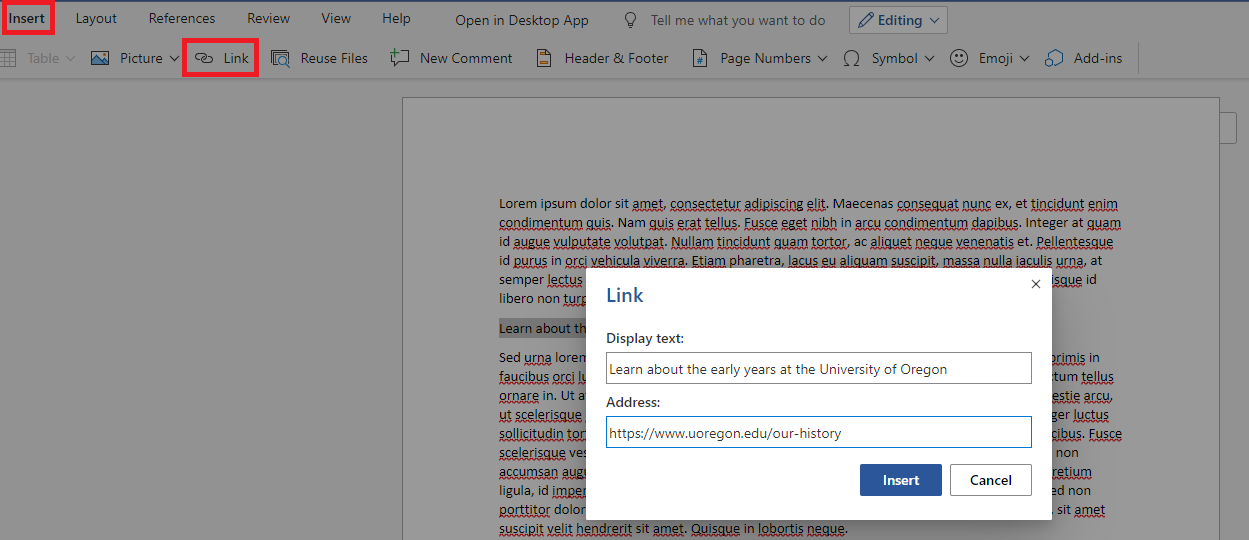
After reading document Headings, people who use screen readers frequently want to know all the links on the page. All URLs should be functioning hyperlinks. Links should be embedded within text, and the link text should be sufficiently descriptive that the site visitor has a good idea where the link takes them without knowing the surrounding context.
To add a link to text, highlight the text that you want to be a hyperlink. Navigate to the Insert tab of Word, then choose the Link button.
Provide Alt Text on Images
Images need to have descriptions that briefly explain the contents of that image to people who cannot view it.
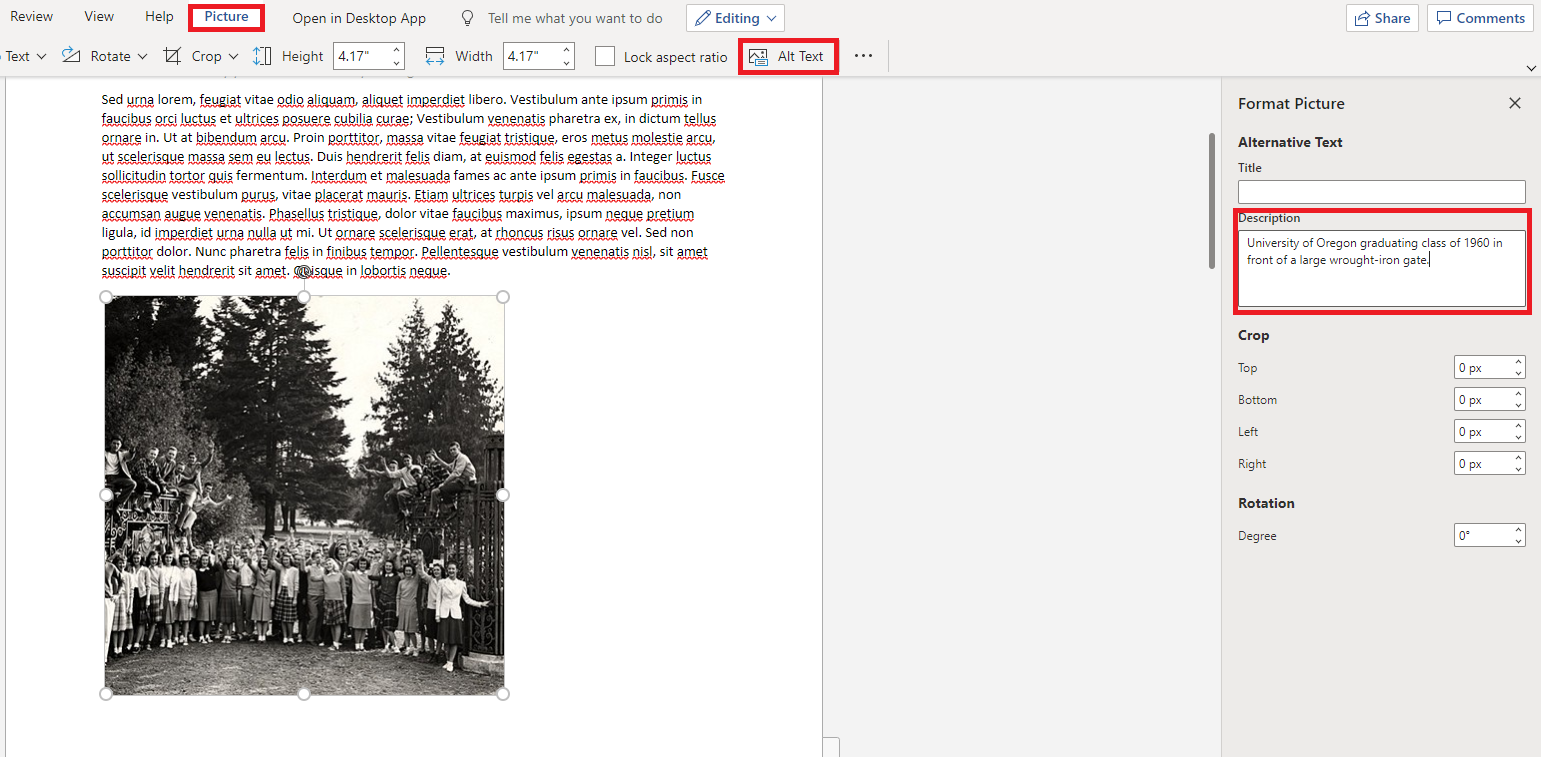
When you select an image in your document, you will see a new Picture tab in the top toolbar. Select it, then choose the Alt Text button on the secondary toolbar. This presents two fields for Title and Description. Generally, descriptions should be a single, short sentence, enough to sufficiently describe the image. Here, the alt text is University of Oregon graduating class of 1960 standing in front of a large wrought-iron gate.
The exception to this is complicated infographics or charts. In this case, provide a short title of the complex graphic, and provide more detail as necessary in the Description field.
Microsoft Word might offer to autogenerate a description for you. The AI that generates these captions is not yet sophisticated enough to match what a human editor can achieve, so autogenerated alt text is discouraged.
Use Tables Sparingly
Screen readers and other assistive technologies may have difficulty interpreting tables. Instead of using tables, present the data as one or more lists whenever feasible, and never use tables for layout purposes. If you have complex tables, consider splitting them into 2 or more simpler tables.
If tables are the appropriate way of displaying data, do not merge or join cells together. Give every table a header and appropriate alt text.
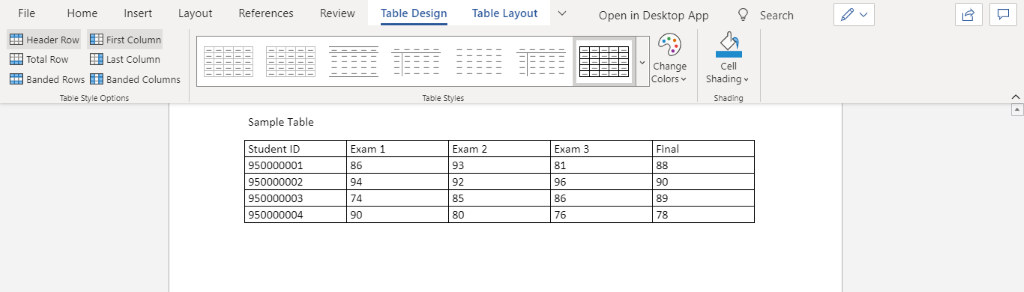
The default read order of tables is Left -> Right, Top -> Bottom, so a screen reader would read this table as:
Student ID, Exam 1, Exam 2, Exam 3, Final
95000001, 86, 93, 81, 88
95000002, 94, 92, 96, 90
This would be difficult for a user with limited vision to understand. Select a cell in your table and choose the Table Design contextual tab. Make sure the Header Row box is checked. This re-reads the column heads with every cell, so the screen reader would instead present the information as:
Student ID 950000001, Exam 1 86, Exam 2 93, Exam 3 81, Final 88
Student ID 950000002, Exam 1 94, Exam 2 92, Exam 3 96, Final 90
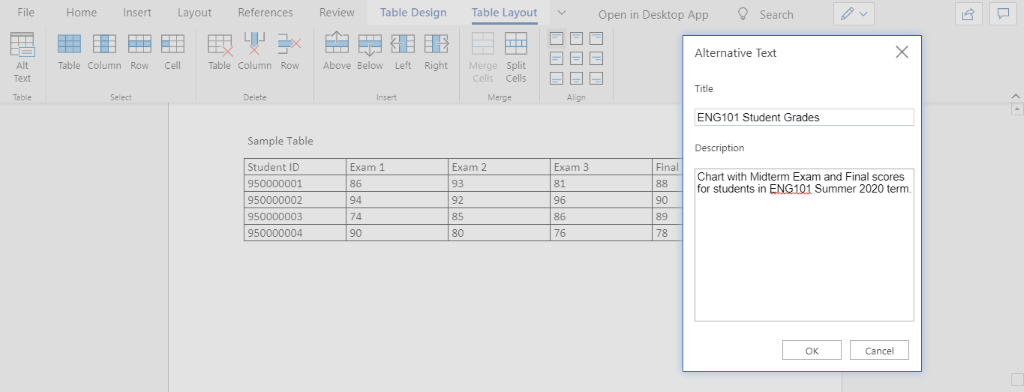
Tables also need alt text. Highlight any cell in the table. Under the Table Layout contextual menu, select the Alt Text button and enter a Title and Description for the table. This gives the user an idea of what the table describes before it reads out the full table data.
Forms
Forms created in Microsoft Word have immutable accessibility barriers. Word provides tools to create fillable forms, but these are not usable by people who rely on screen readers. Because Word is primarily used for content creation versus content consumption, Word files with forms are set to Restricted Editing Mode, so that the people filling out the forms are not able to change the form questions.Thus, people who navigate with keyboard are only able to tab between the form field themselves. They are not able to access the form labels or any descriptive text on the form that explains how they are supposed to fill it out.
Word may be used to create form templates, that is, the layout of form labels, descriptions, and providing spaces for where the form fields will go when exported to PDF. Going through the effort of adding fillable forms fields in Word is inadvisable, as this information will need to be recreated in Adobe Acrobat.
Example form template with non-fillable form fields.
How to Test
Accessibility Review
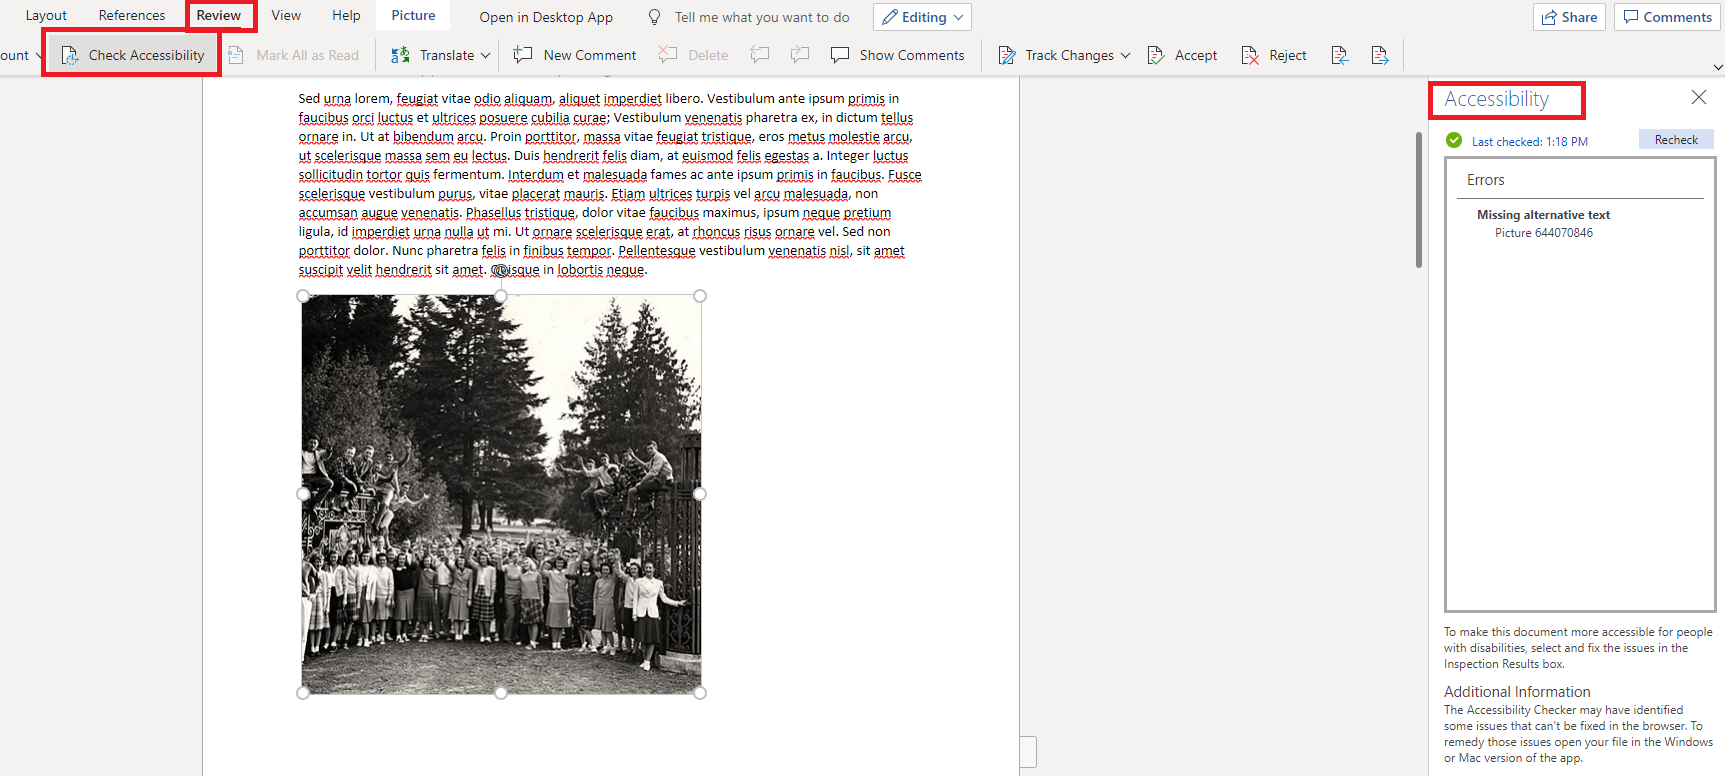
Now that you’ve taken steps to make your Word document accessible, Word provides a tool that performs some basic accessibility validation. Under the Review tab, select the Check Accessibility button. It performs a handful of accessibility tests automatically. No automated testing tool guarantees 100% accuracy (for example, it won’t know if you use stylized text in lieu of Headings), but this is a good way to catch common errors.
The alt text from the previous example was removed, then the Check Accessibility test was run. It correctly identifies that the image is missing a description.
Exporting to PDF
Word files are commonly converted to PDF documents before being hosted on websites. If you intend to do this, it’s crucial that you Save to PDF. Do not Print to PDF. This removes all the accessibility meta data from your document.
When you Print to PDF, it takes a screenshot of the entire document and converts it to an image. The text is not searchable, there are no navigable links, there is no document structure for easy screen reader navigation, there is no meta data to describe any images.
The best way to convert Word files to PDF is from the desktop version of Word, not Office 365. If you have the software installed locally, download a copy of the Office 365 version.
Within Windows Office Desktop, navigate to the Acrobat tab and select Create PDF. This option is available only if you have Adobe Acrobat installed. Otherwise, choose File -> Save as PDF.

On Mac Office Desktop, select File -> Save as PDF, and check the Best for Electronic Distribution and Accessibility option.
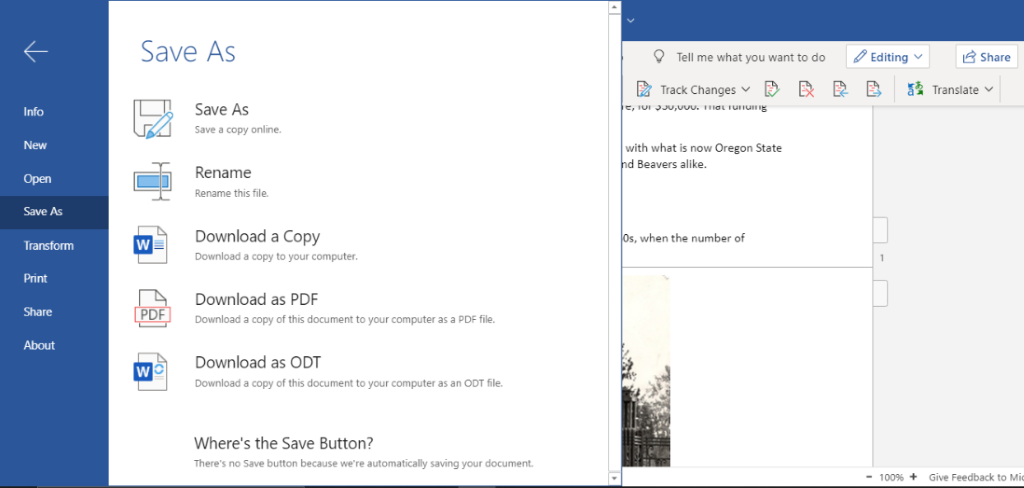
In you don't have a desktop version, within Office 365, select File -> Save As -> Download As PDF.